Merbau decking is a popular choice for outdoor areas across Australia due to its durability, aesthetic appeal, and natural resistance to the elements. Whether you’re building a new deck from scratch or renovating an existing one, Merbau is an excellent timber option that will last for years to come.
In this step-by-step guide, we’ll walk you through the process of installing Merbau decking yourself, offering you valuable tips, tools you’ll need, and expert advice to ensure a seamless DIY project.
Why Choose Merbau Decking?
Before we dive into the installation process, let’s quickly look at why Merbau is such a great choice for decking:
- Durability: Merbau is a hardwood, known for its strength and resilience. It is naturally resistant to termites, rot, and weather conditions, making it ideal for Australian climates.
- Aesthetics: Merbau features a rich, deep brown colour with golden streaks, which naturally enhances the look of any outdoor space.
- Low Maintenance: Once installed, Merbau decking is relatively easy to maintain, requiring only occasional cleaning and oiling to preserve its natural beauty.
Now that you’re familiar with Merbau, let’s get started! Explore Merbau decking products:
- 140 x 19 Merbau Deck Random Length 1.8 to 5.7
- 90 x 19 Merbau Deck Random Length 1.8 to 5.7
- MERBAU 90 X 19 mm
Tools and Materials You’ll Need
Before you begin, ensure you have all the necessary tools and materials to avoid interruptions during your installation process.
Tools:
- Tape measure
- Circular saw or mitre saw (for cutting decking boards)
- Drill (with wood and pilot drill bits)
- Screws and nails (rust-resistant)
- Decking oil (for finishing)
- Clamps (for securing boards in place while you work)
- Spirit level
- Post level
- Carpenter’s square
Materials:
- Merbau decking boards
- Galvanised joists or timber framing (depending on your deck design)
- Decking screws or nails (for securing the boards)
- Decking oil or sealant (to protect your Merbau decking)
Step 1: Plan Your Deck Layout
Planning is the first and most important step in any DIY project. It helps you determine the size of the deck, where it will sit, and how many materials you will need.
- Measure the area: Use a tape measure to define the dimensions of the space where you plan to install your deck.
- Sketch a design: Draw a basic plan of your deck, noting down the size and placement of each deck board. If you’re unsure of the design, plenty of online deck builders and planners can help.
- Check local council regulations: Before starting, check if you need any permits or approval to build a deck in your area. In some regions, a council approval is needed for structures like decks.
H2: Step 2: Prepare the Ground
A strong, level foundation is essential to the longevity of your Merbau decking.
- Clear the area: Remove any grass, plants, or debris from the area.
- Level the ground: Use a spirit level to ensure the ground is even. If the ground is uneven, you may need to dig down or build up the area with sand or gravel to level it out.
- Lay a weed membrane: This will help to prevent weeds from growing through your decking.
Step 3: Build the Frame
The frame is the skeleton of your deck and will support all of the decking boards. For Merbau decking, it’s essential to use a durable material like treated pine or galvanised steel for the joists.
- Place the perimeter joists: Start by laying the outer perimeter of the frame. Use a post level to ensure they are vertical.
- Install intermediate joists: These should be spaced evenly at around 450mm to 600mm apart. Secure them using galvanised nails or screws.
- Check the level: Use a spirit level to ensure the frame is level in all directions before moving on.
Step 4: Install Decking Boards
Once your frame is securely in place, it’s time to lay down your Merbau decking boards. This is where the real transformation happens!
- Start at the edge: Begin at one end of the deck, ensuring your first board is aligned perfectly straight. It’s often best to leave a small gap (around 5mm) between the boards to allow for expansion and contraction.
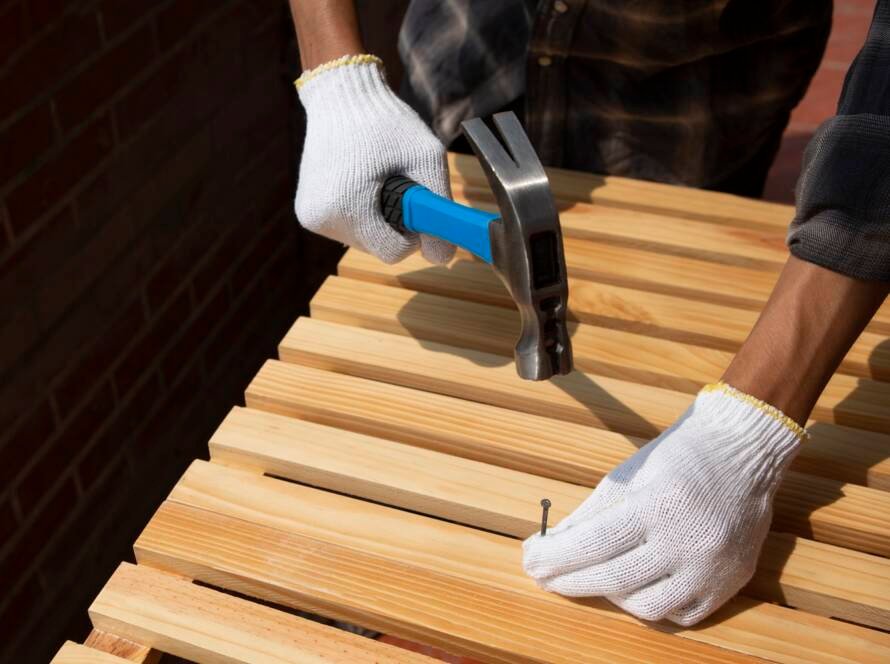
- Secure the boards: Use decking screws or nails to secure each board to the frame. Ensure screws are angled downwards at a 45-degree angle for a cleaner look. Always drill pilot holes to prevent timber splitting.
- Continue laying boards: Work your way across the deck, making sure to leave a consistent gap between the boards.
Step 5: Trim the Edges and Finish
Once all the decking boards are laid, it’s time to tidy up the edges and apply a protective finish.
- Trim any overhanging boards: Use a circular saw or mitre saw to trim any decking boards that extend beyond the frame.
- Apply decking oil: To preserve the Merbau’s natural beauty and extend its life, apply a coat of decking oil or sealant. This will help to protect the wood from the elements and maintain its rich colour. Follow the manufacturer’s instructions for the best results.
Step 6: Maintenance Tips for Merbau Decking
Merbau decking is low-maintenance, but like any outdoor timber, it requires some care to ensure it lasts for years.
- Regular cleaning: Use a soft broom or pressure washer to remove dirt and debris from your deck. Avoid harsh chemicals as they can damage the timber.
- Re-oil regularly: Reapply decking oil every 12–18 months, or as recommended by the product manufacturer.
- Inspect for damage: Check your decking periodically for any signs of wear or damage, such as loose boards or nails. Tighten or replace where necessary.
Common Mistakes to Avoid
- Not allowing for expansion: Merbau, like all timber, expands and contracts with temperature and humidity. Leaving enough space between the boards is crucial to prevent buckling or warping.
- Incorrect board placement: Be sure to install the boards with the grain running in the same direction to avoid a mismatched appearance.
- Using non-durable fasteners: Always opt for rust-resistant screws or nails to avoid corrosion and premature deterioration.
Conclusion
Installing Merbau decking yourself is a rewarding and practical way to enhance your outdoor space. By following this step-by-step guide, you’ll be able to create a durable, beautiful deck that will last for years. Whether you’re hosting BBQs, enjoying the sunset, or simply relaxing with family, your Merbau deck will be the perfect addition to any home.
If you’re ready to begin your decking project, make sure to gather all the necessary tools and materials, and remember that the key to success is careful planning, precision, and attention to detail.
Happy building!